
Introduction
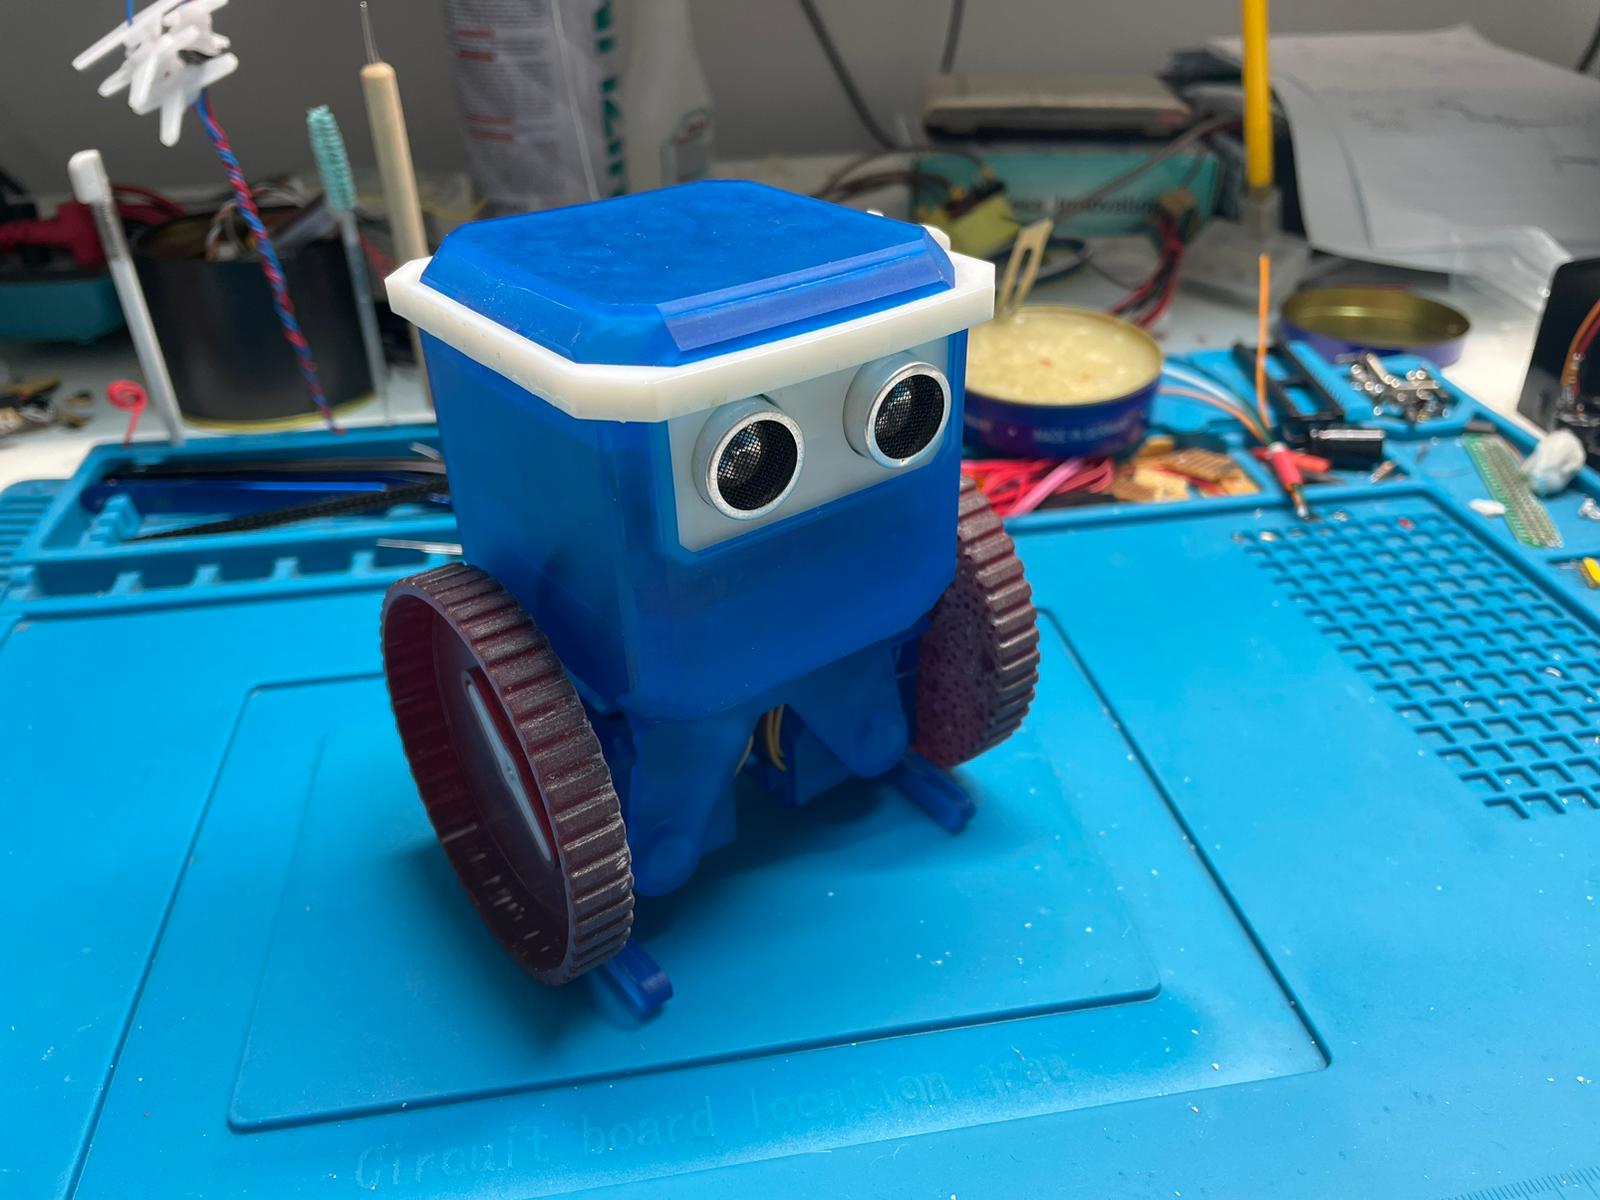
NERO is an innovative, enhanced, and fully
customized evolution of the original OTTO robot platform,
meticulously developed by NEBKA to serve as a
powerful tool for both educational environments and creative
robotics enthusiasts. Designed with versatility and modern
pedagogy in mind, NERO introduces a refined modular structure,
upgraded electronics, and seamless programmability that
empowers students, educators, and hobbyists to engage in
hands-on learning, experimentation, and innovation.
Whether it’s used in schools, maker spaces, robotics
competitions, or research labs, NERO provides a robust and
adaptable foundation for exploring fundamental STEM concepts,
coding logic, and real-world engineering applications. With
its intuitive design and cross-platform programming
environment, NERO bridges the gap between beginner-friendly
robotics and professional-grade development tools — all while
maintaining affordability and accessibility.

Legal & Attribution
NERO is proudly built upon the foundations of
the open-source OTTO DIY platform, which is
licensed under the
Creative Commons Attribution-ShareAlike 4.0 International
(CC BY-SA 4.0). All hardware enhancements, firmware upgrades, and software
developments have been independently engineered by the
NEBKA team to offer a more robust and modular
experience for learners and developers.
We respectfully acknowledge the original
OTTO community for their contribution to
open-source robotics. Please note that the use of the OTTO
name, logo, or branding in derivative or commercial works
requires prior permission from the original creators.
Key Features
3D Printable Modular Body
Designed for full customization, NERO’s body can be 3D printed and assembled with ease using modular parts.
Custom PCB
Equipped with a NEBKA-designed PCB offering advanced motor control and expansion headers for sensors and modules.
Bluetooth & USB Support
Program the robot via USB or connect wirelessly via Bluetooth for mobile and tablet interaction.
Battery Management
Smart battery circuitry ensures safe charging and includes auto-shutdown to extend battery life.
Educational Content
Includes beginner to advanced coding examples and activities tailored for STEM education and robotics training.
Hardware & Assembly
3D Print the Body
Download and print the STL files using a standard 3D printer. All parts are modular and support PLA or PETG filament.
Install NEBKA Control Board
Mount the custom NERO PCB inside the chassis, ensuring the headers and connectors face outward for easy access.
Connect Components
Attach motors, ultrasonic sensors, and power modules using labeled ports. Follow the wiring diagram for accurate placement.
Final Assembly
Secure all parts using M2/M3 screws. Align the body to ensure smooth servo movement and balanced structure.
Programming Guide
Install Board Packages
Open Arduino IDE and install the board definitions required for NERO. Ensure all dependencies are installed.
Connect via USB
Plug NERO into your computer using a USB cable. In Arduino IDE, select the correct COM port from the Tools menu.
Run Example Sketches
Load and upload the example sketches provided in the NERO package to test basic motor movements and sensor readings.
Write Your Own Code
Use Arduino syntax to write custom behaviors. Upload your program and watch NERO come to life with your own logic.
Mobile App
Control your NERO robot effortlessly using the upcoming
NERO Controller App, designed for Android
devices. The app provides real-time Bluetooth connectivity,
enabling direct control over NERO’s movements, gestures, and
sounds with an intuitive interface. Whether you're exploring
manual control or experimenting with gesture presets, the mobile
companion app is perfect for both classroom and home
environments.
Coming soon to Google Play — stay tuned!
FAQ
Contact
Need help or have questions about NERO? We're here for you.
Visit our support page at nebka-dev.com or reach out directly via email.